Friday, May 13, 2011

Goodwill Goodies!


I love Goodwill. My obsession first began when I discovered their selection of children's clothes. I mean, why pay $50+ for this dress:


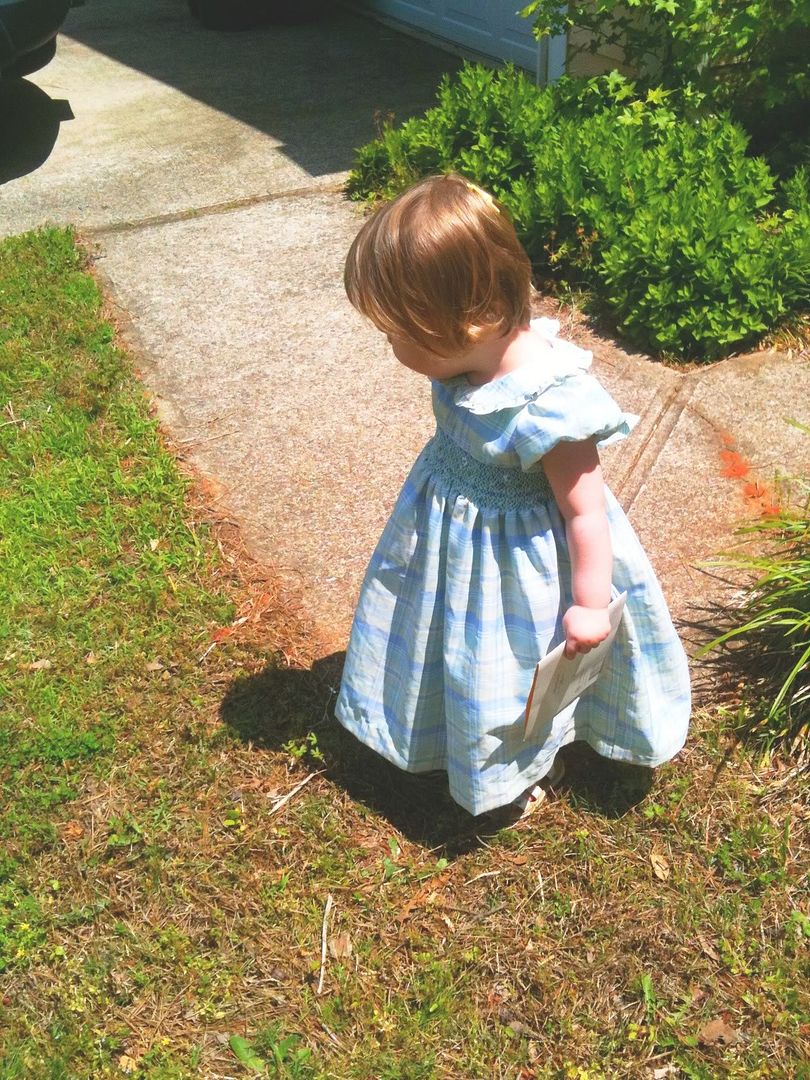
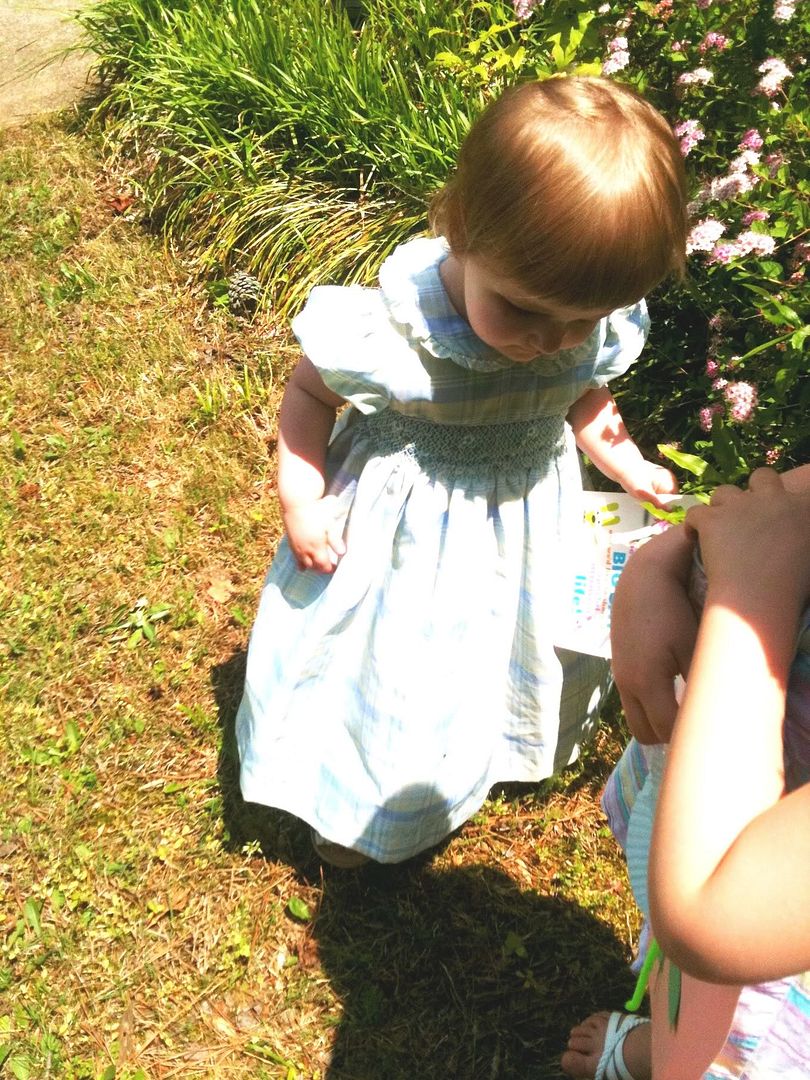
when you can buy it for under $3.00 at Goodwill? Check out the smocking:


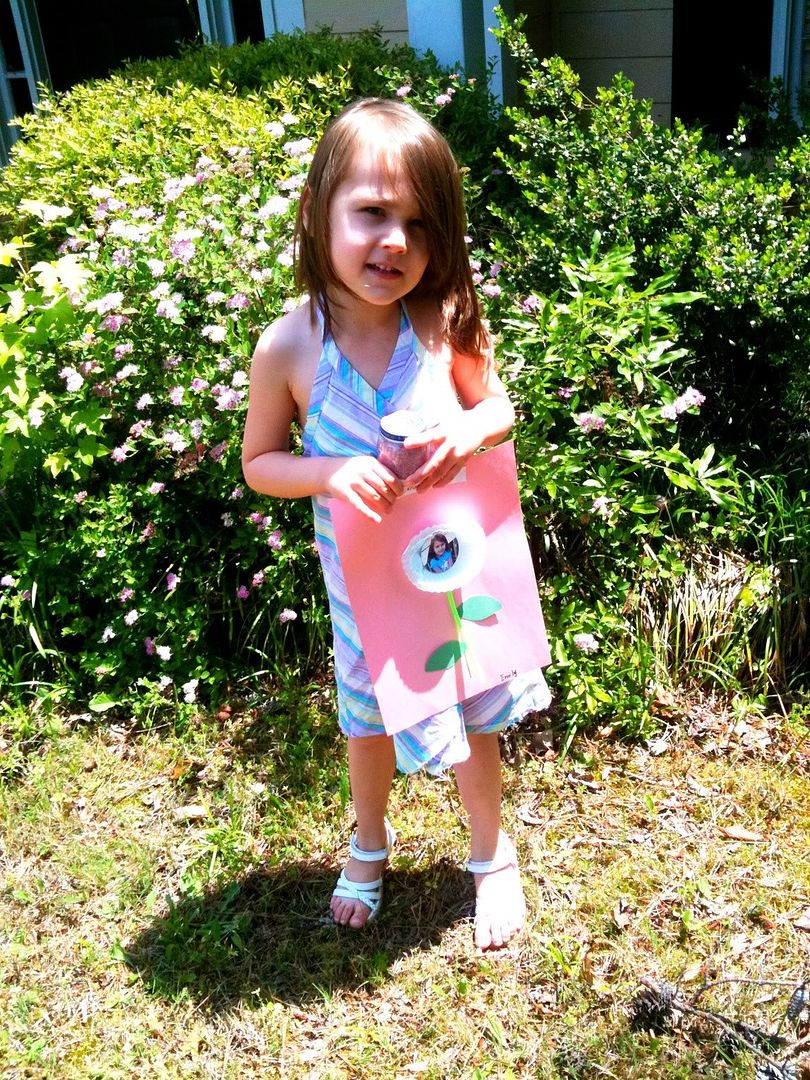
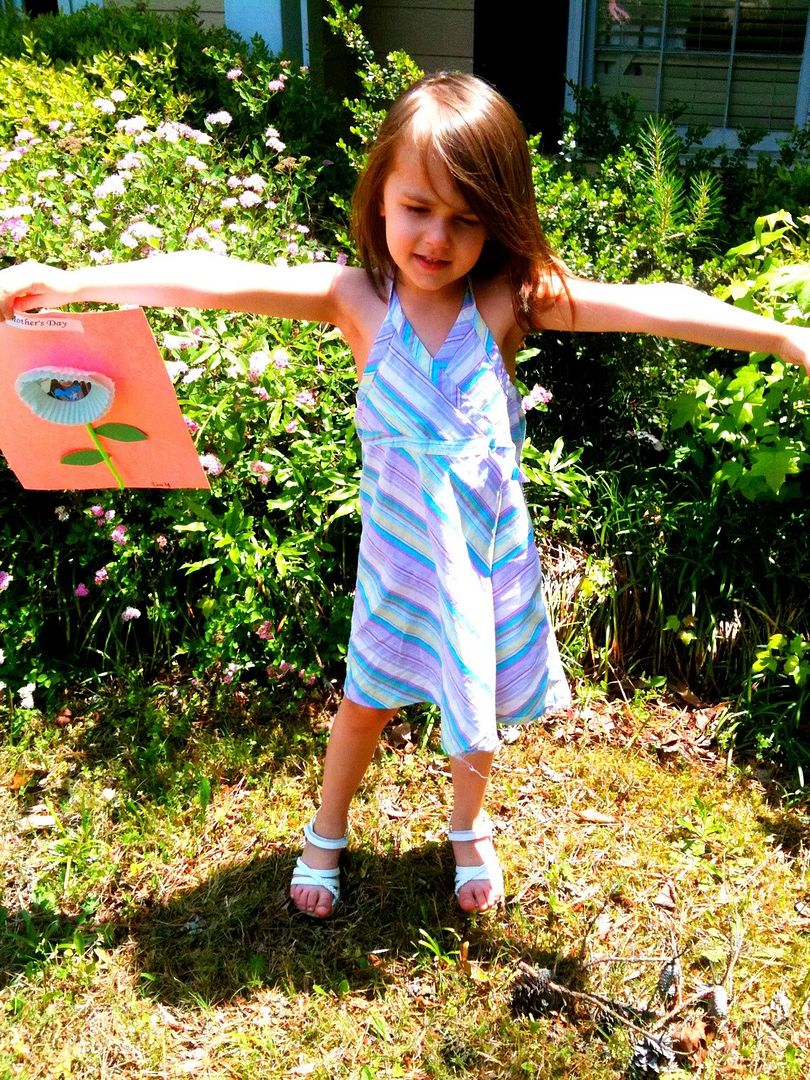
Or how about this Old Navy cutie (and I'm not just referring to the adorable model!):


I've recently discovered that Goodwill is good for more than clothes. I was inspired by what I saw in the Spring/Summer flea market mags (Oh, my jeepers. If you haven't checked them out yet, run, don't walk, to your nearest newsstand! Or drive. That would be okay, too.) So, after dropping Emmy off at preschool, Eva and I decided to try our luck at one of our local Goodwill stores. My mouth watered when I found these two beauties:

My mom says I should soak this one, but I just love the antique patina! It's currently in my downstairs powder room holding soap and tissues.


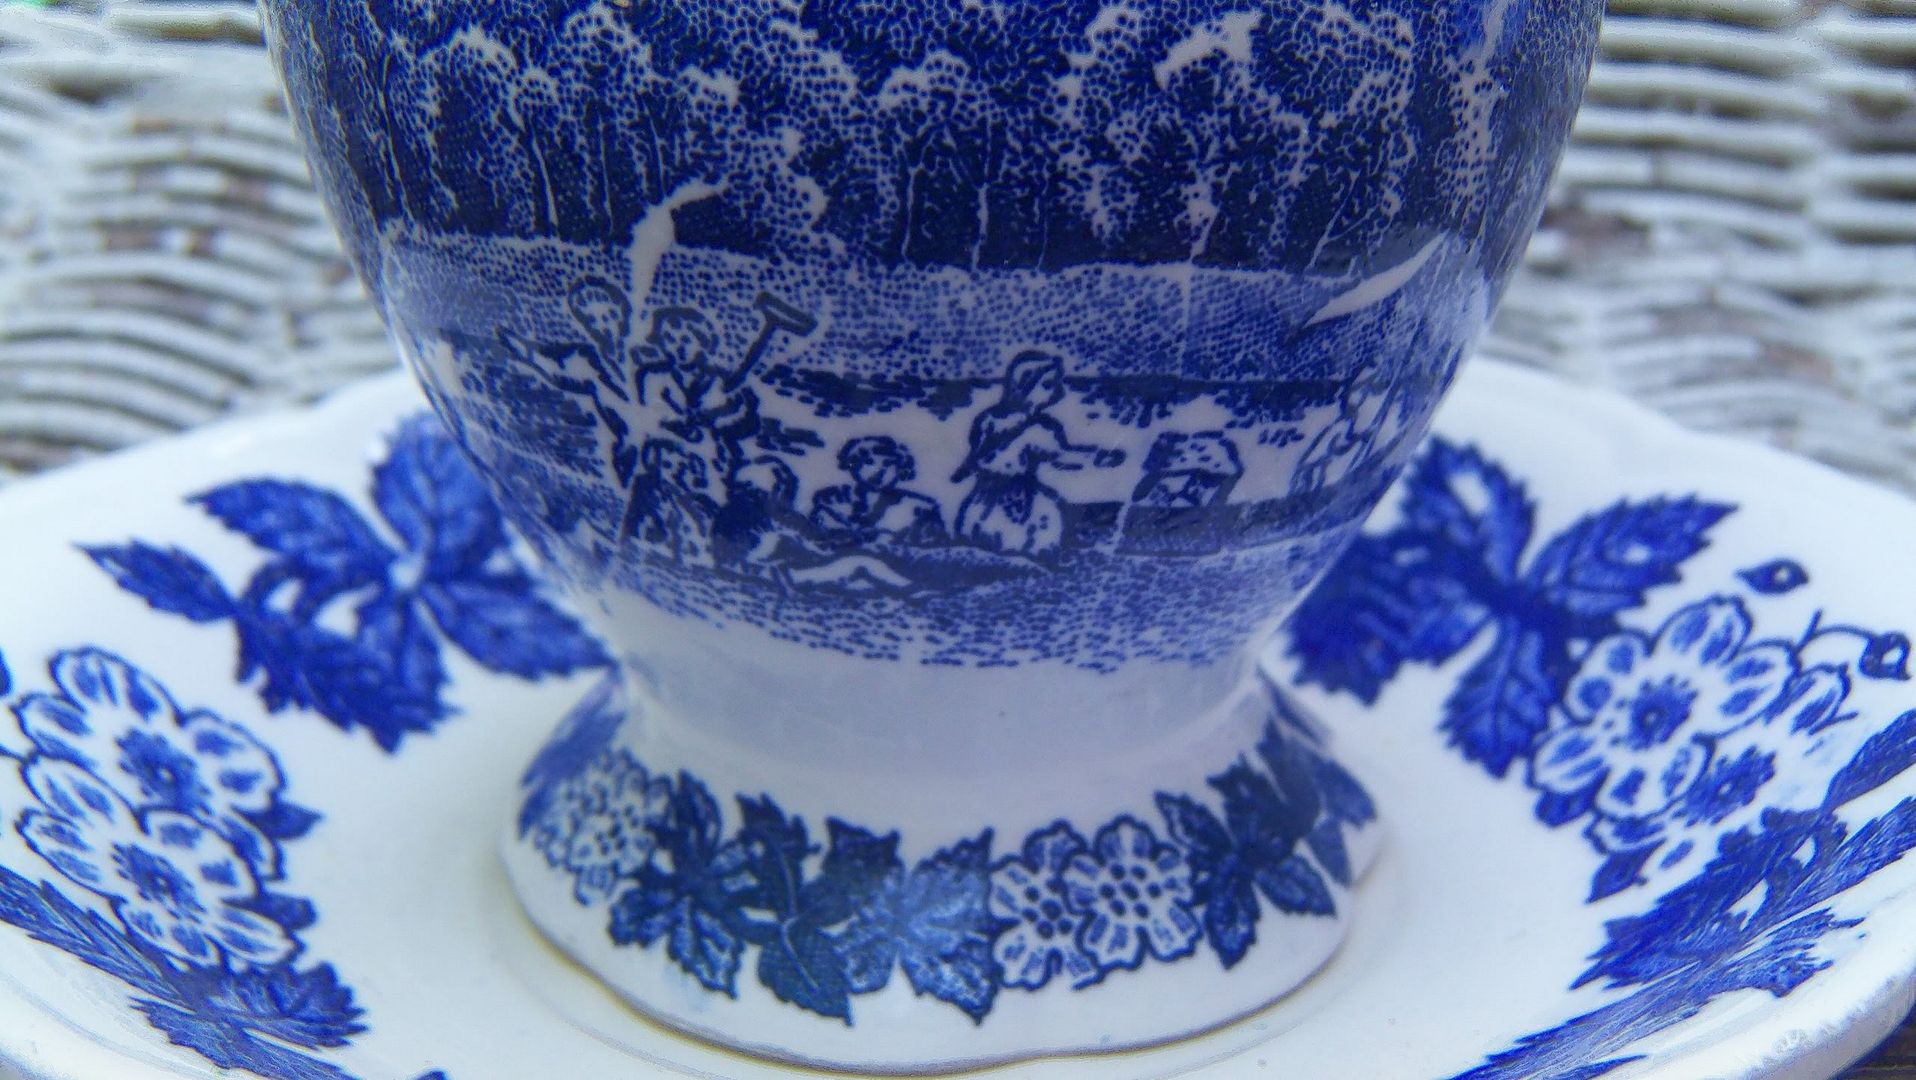
I drooled over this one. The detail work on the outer rim of the plate is just gorgeous:


It's so dainty and delicate! It's also in the powder room, to be used for potpourri. 

A couple of weeks later, I convinced my husband to go on his very first trip to Goodwill. This is what we (I) found:


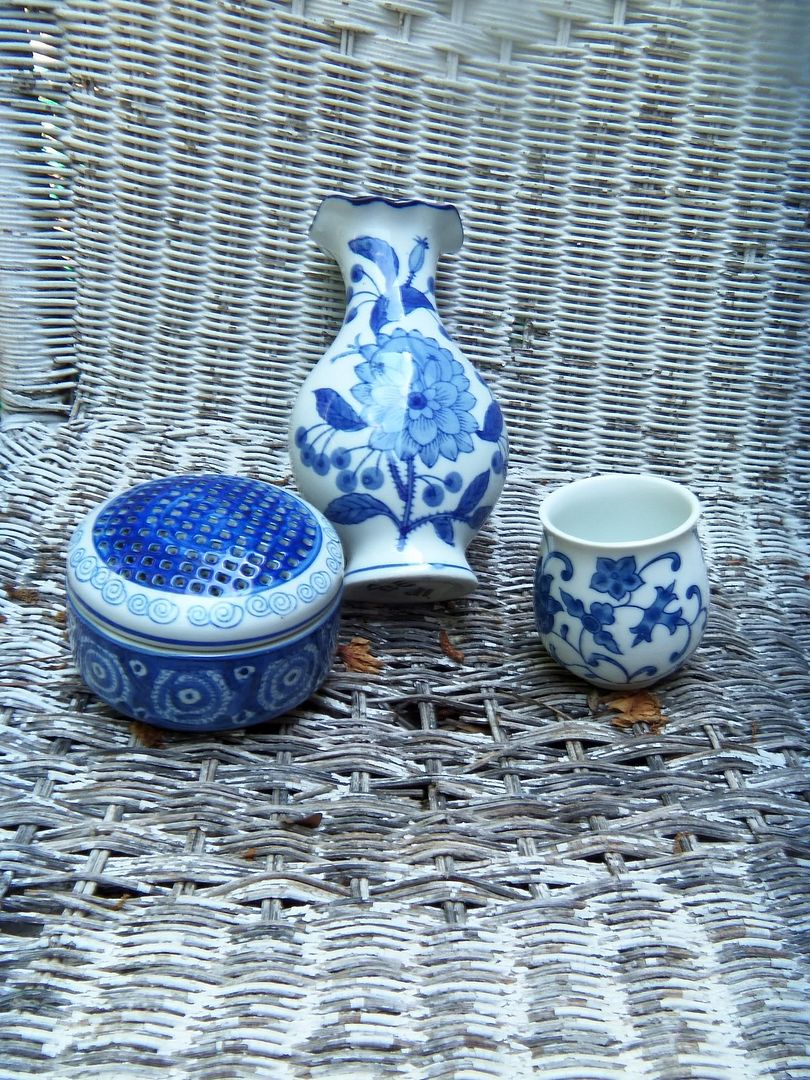
Our dining room (my temporary studio) is painted blue under the chair rail. It was already painted when we moved in, and although none of our decor has blue in it, I can't bear to repaint it because it's a gorgeous deep blue. When I found these lovelies, our dining room didn't pop into my head. I just thought they were beautiful and I would make them fit somewhere. Then I came home and saw those gorgeous blue walls and ding, ding ding! We have a winner! The following week, I went to a different Goodwill, and lo and behold, this is what I found:


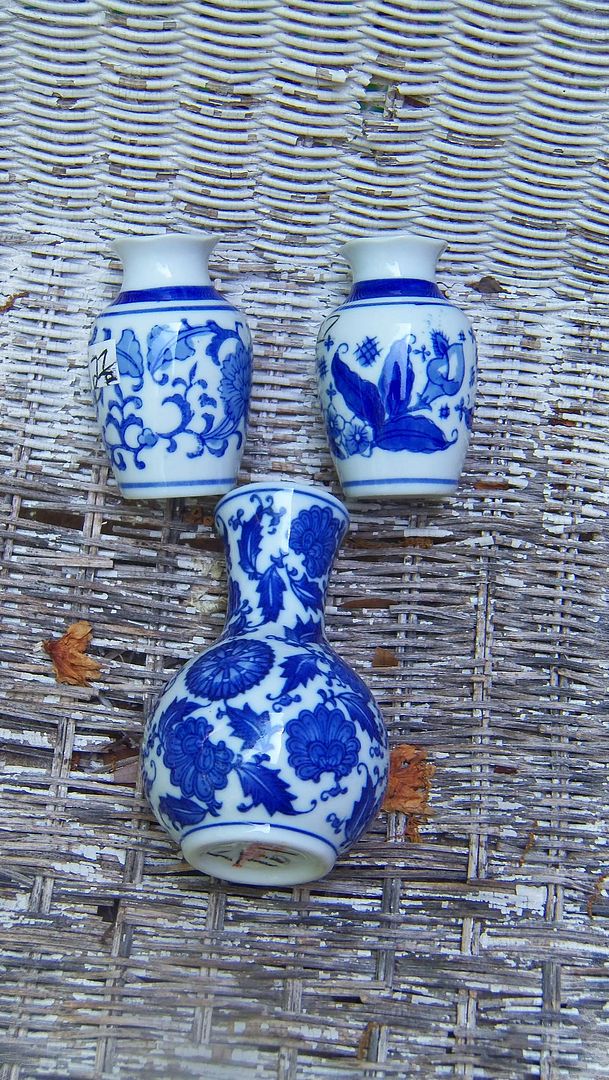
And my favorite piece:

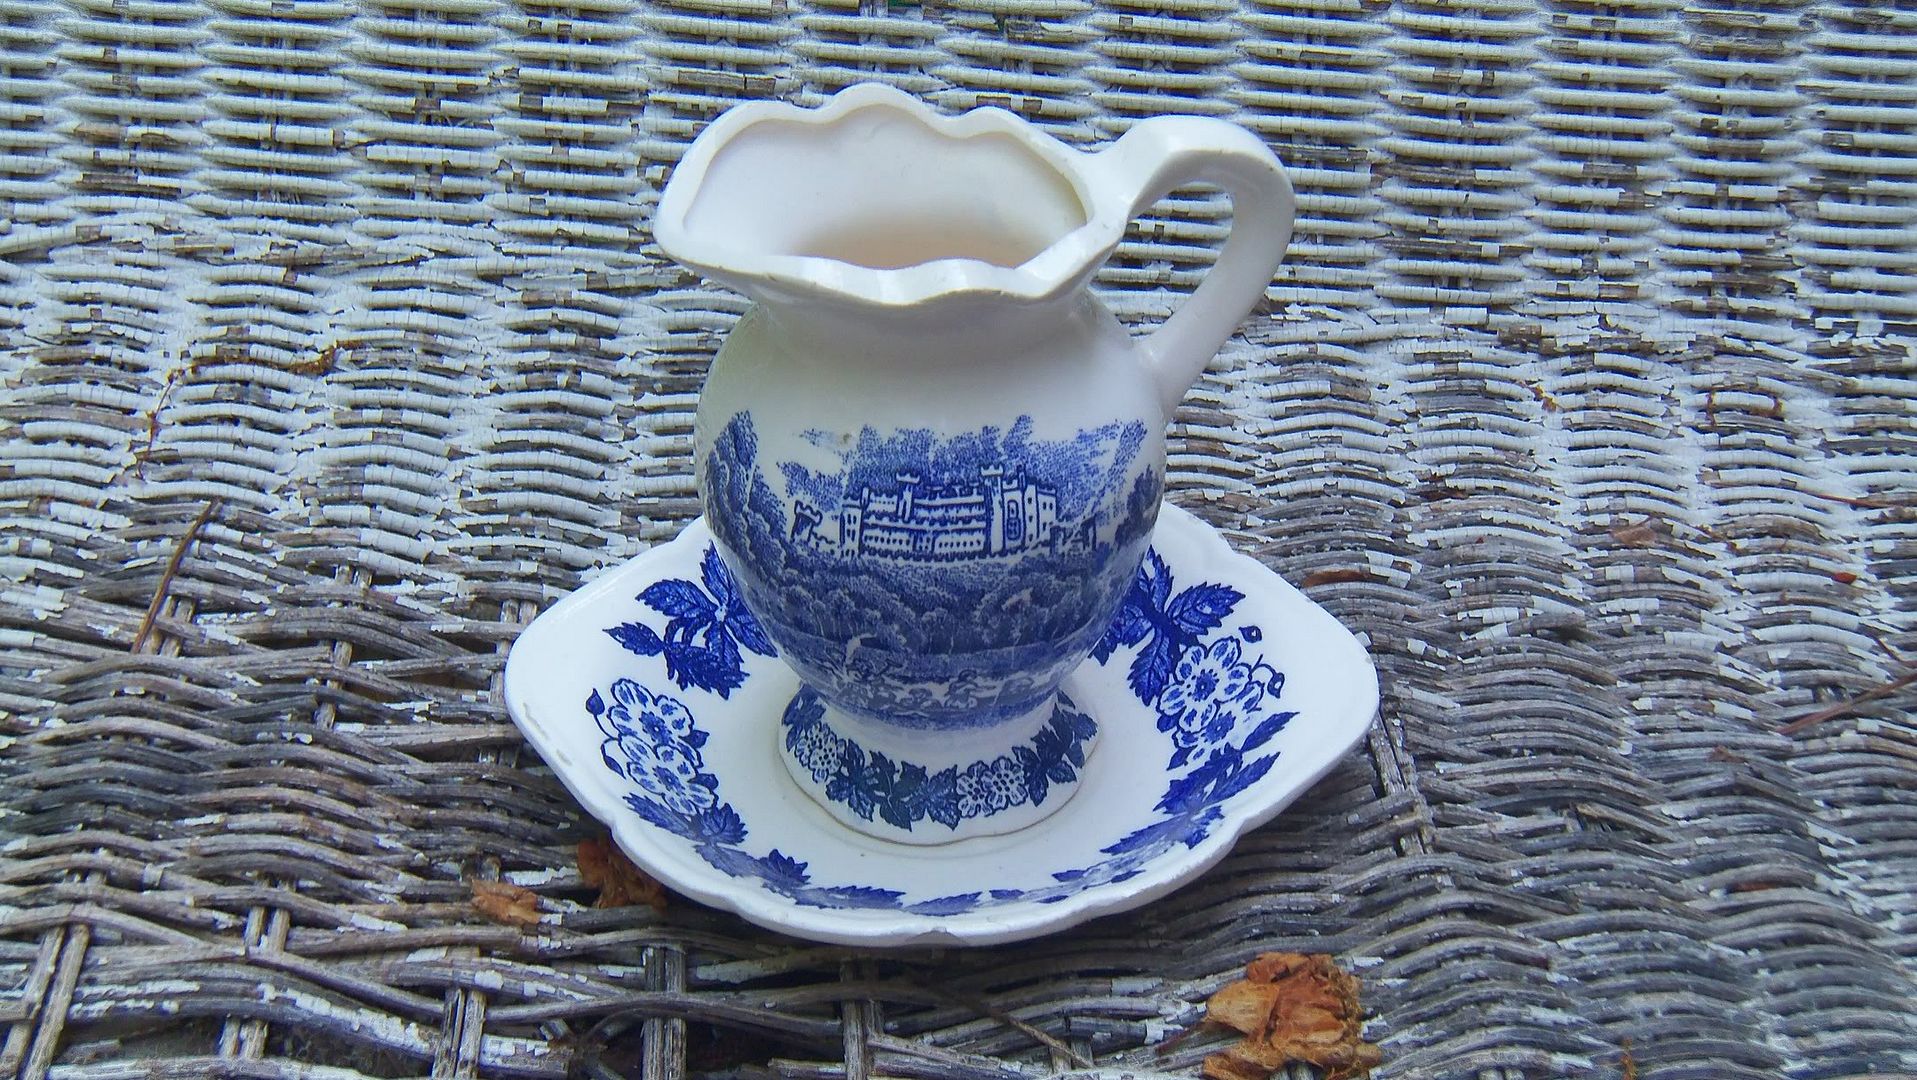
Look at this detail:


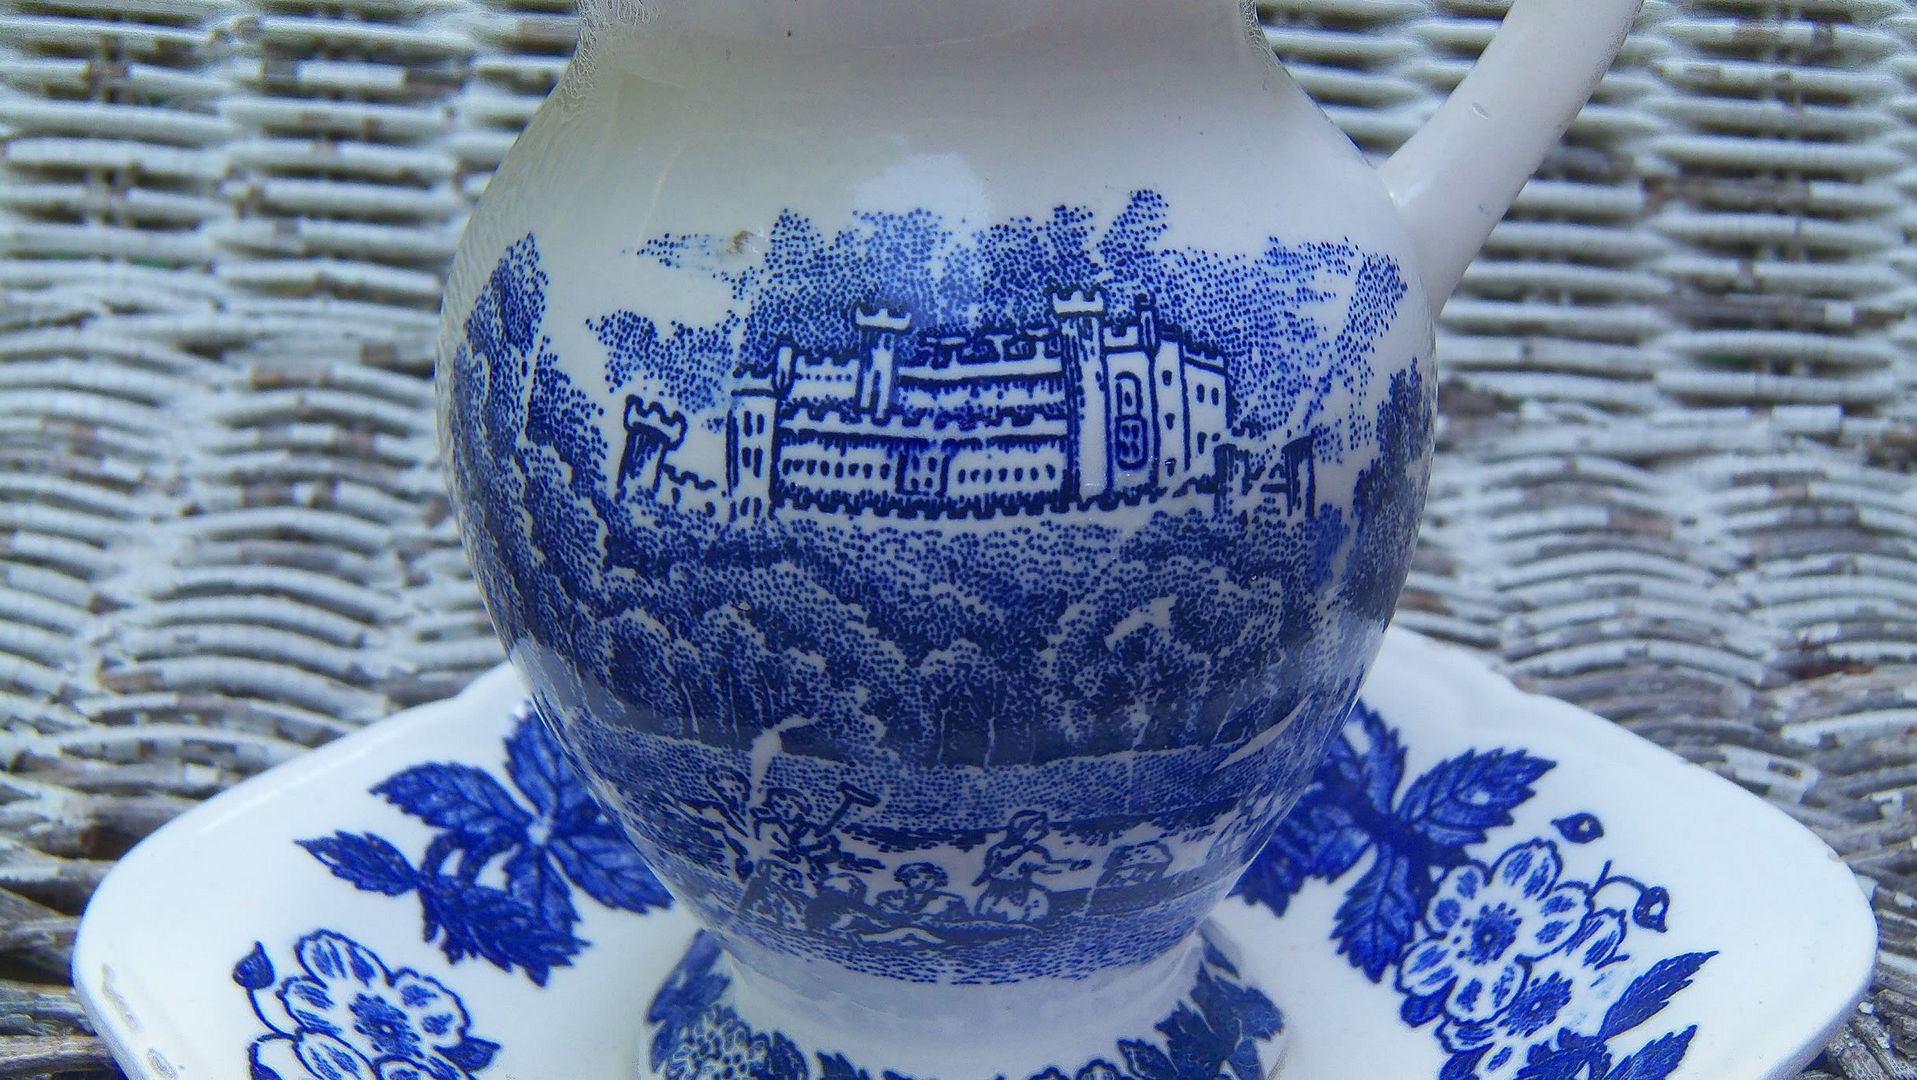
Isn't it beautiful?! The best part is that every single one of these pieces was less than $3.00!!! The smallest pieces were only $0.77!!

Oh, Goodwill, you make me giddy!

Wednesday, May 4, 2011

Double Ear Infection + Special Needs Child = Partial Tutorial

It's true. Little Boo Boo Chicken has yet another double ear infection, making this the second one in two months, on the eve of her rescheduled kidney scan. That means that this mama has had no time to finish the wreath tutorial. BUT if you're set on doing it, I can get you started. I will eventually post the entire tutorial with pictures at some point. I'm just not sure when. With that said...


I became "infatuated" (get it??) with this yarn one day when I randomly perused the yarn aisles at Hobby Lobby. I was determined to find a use for it, but since I don't knit or crochet...you can see my dilemma. After some brain storming, it clicked. I'll make a wreath!

Supplies:

  • Wreath (I prefer the plastic wrapped cedar ones because the inside edges are round)
  • Yarn (I used some skinny, fuzzy yarn from Hobby Lobby. I had to buy 2 skeins because it was so thin. If you use a thicker yarn, you might not need as much.)
  • Hot glue gun
  • Straight pins
  • Two rolls of ribbon (Complementary colors to your yarn)
  • Butterflies (Found in the floral section of Hobby Lobby)
  • Floral wire (Not shown)
  • Scissors
  • Fray check (Not shown)

To start place a dab of glue anywhere on the wreath. Yep. Anywhere. Then start winding the yarn around the wreath.

 Keep winding...

 Wind some more...

Catch up on a couple of shows from your DVR, take a picture of your adorable helper, even though she refuses to smile...
(In case you're wondering what I'm watching on TV, it's the Investigation Discovery channel. I'm a forensics nerd. And just a nerd. And I'm okay with that.)

Winding...

Once you've finally made it all the way around the wreath, just put another dab of glue on the wreath to secure the end of your yarn.

 Pull tight and trim the end. (A happy dance would also be appropriate.)

 Next, take one of your spools of ribbon and pin the end on the back side of the wreath at an angle.

 Wind that around the wreath a few times, ending at the straight pin.

 Pin this end of the ribbon, trim, then glue the ribbon to the wreath.

 Do the same thing for the other ribbon, only go the opposite direction.


Pin, trim, and glue.

The next step is to make your bows for the bottom of the wreath. This is where I had to stop, so I don't have any pictures of this. It's super easy though. To make the bows, just form a couple of loops with your ribbon and hot glue the center, leaving tails as long as you want them. To cover the center and give it a more "finished" look, glue one end of the ribbon on the spool to the center of the back of the bow, bring it over the top and then back under the bottom. Pull it to adjust the "scrunchiness" (yes, that's a technical term), trim, Fray Check the edge, and glue. Repeat for other colored ribbon. Cut the ends at an angel or dove tail and Fray Check the ends.

Now you're ready to glue those puppies onto your wreath!

Next, and this is my four-year-old's favorite part, carefully poke the wires of your butterflies into the wreath at various locations. They're a little fragile, so be super careful. If one falls off it's wire, don't panic! You can either just glue it straight onto the wreath, or just put a dab of glue on the hole on the butterfly where it came off and stick the wire right back in. Allow to set.

To make wire hanger (Don't worry, this isn't Joan Crawford's house.):
Wrap the loose end of a spool of floral wire around the top of the wreath, right of center, leaving a tail. Wrap the tail around the wire several times. Loop spool under the top of the wreath, left of center, coming back up to wrap around itself on that side as well. Trim the end and...

Voila!!!

Happy Mother's Day!

Now, I'm off to cuddle with my pitiful Eva. Well, once she gets out of the bath, that is. Guess what two little girls got into Mommy's make-up today! Sigh...never a dull moment...

Thursday, April 28, 2011

Just in time for Mother's Day...

Want to learn how to make this?


You won't believe how easy it is! And just in time for Mother's Day! I'll be starting a segment called "What's on Ashley's Door?" (other than spiderwebs and the like) because I've recently become obsessed with making wreaths. Here's my first one, made for St. Patrick's Day (in case you couldn't tell):

I'll be making a patriotic version of this one, too. I'm planning on making a new one every month or so. Won't you join me? 

I plan to post the tutorial for the butterfly wreath by Monday, so keep your eyes peeled!

Saturday, April 9, 2011

I have a confession-I can't finish anything.  NOTHING.  I have half completed stuff lying around everywhere.  They are all great projects, started with the best of intentions, (and for some rad people) but I just. can't. finish!  

I've tried to figure out why.  Am I ill-prepared to finish by not having the proper materials or skills?  Do I get bored with the project?  Or am I just THAT flighty that I can't finish a simple project??

I think HOPE that everyone deals with this at one time or another.  We have different things in our lives that can take precedent over the things we enjoy to do.  Today, those distractions have been in the form of two of the cutest little monsters ever. Big Bubs decided that dumping out ALL of Little Bubs toys was a good idea "so he can play with all of them!" was the reasoning.  Needless to say, that project I was working on was put back on the shelf for later. 

I suppose what I'm trying to say is don't lose hope!  Don't loose sight of the goal you have-to create something with your hands.  Those distractions will continue, but don't forget about those projects that give you an outlet to create.  

Lots of love-

Emily