
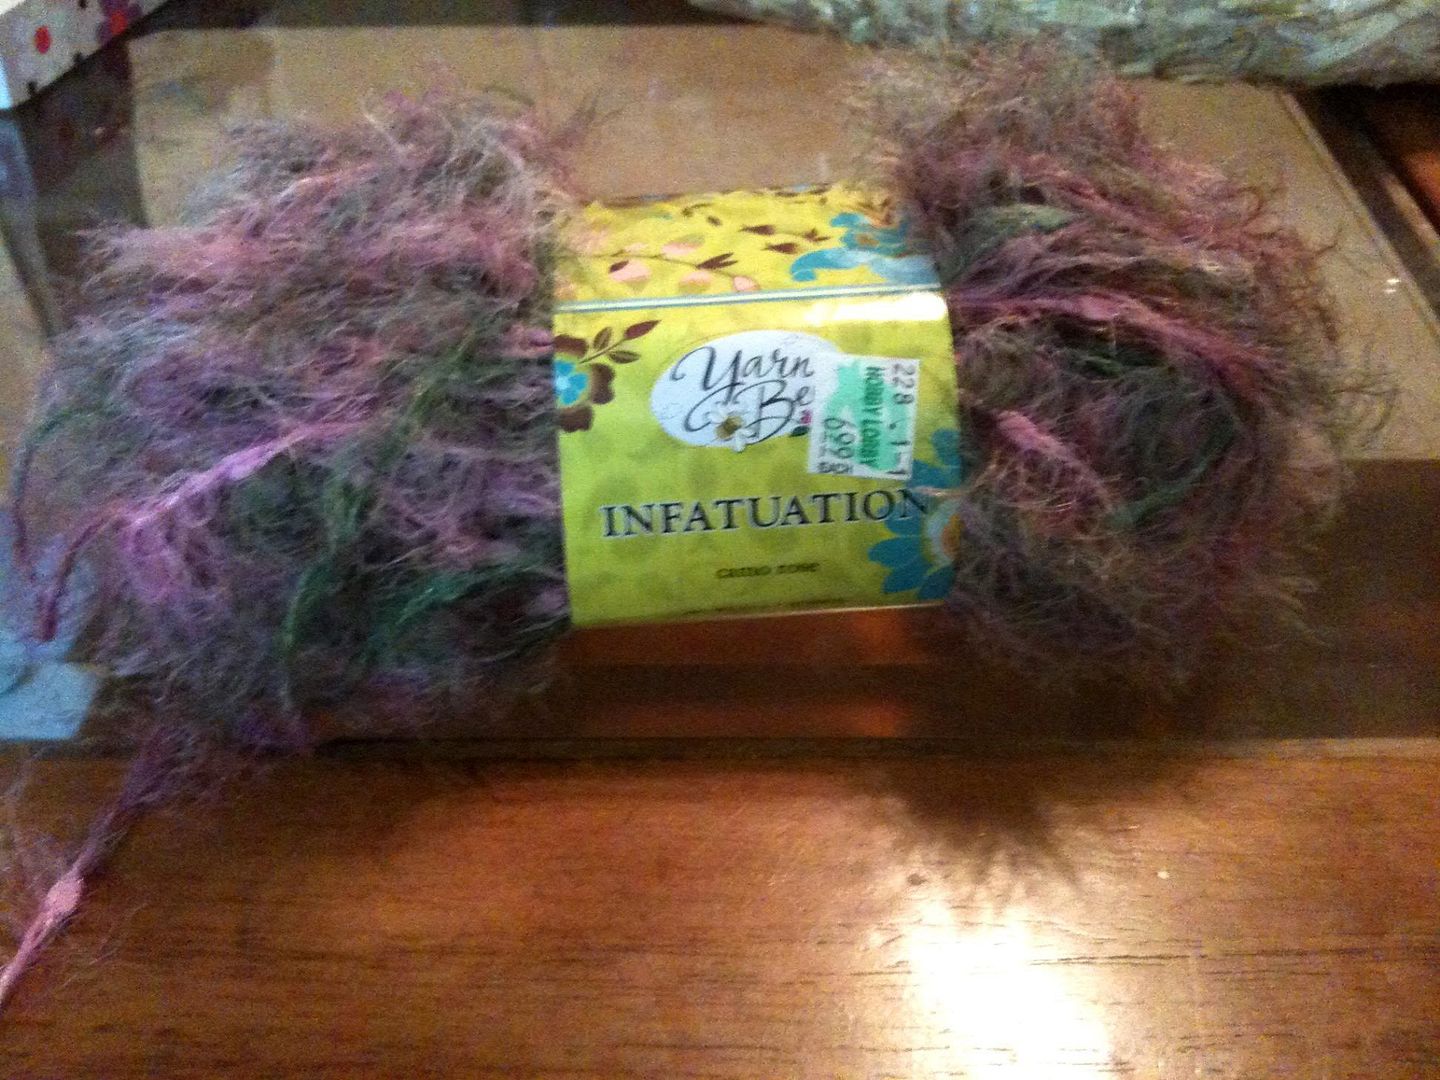
I became "infatuated" (get it??) with this yarn one day when I randomly perused the yarn aisles at Hobby Lobby. I was determined to find a use for it, but since I don't knit or crochet...you can see my dilemma. After some brain storming, it clicked. I'll make a wreath!
Supplies:
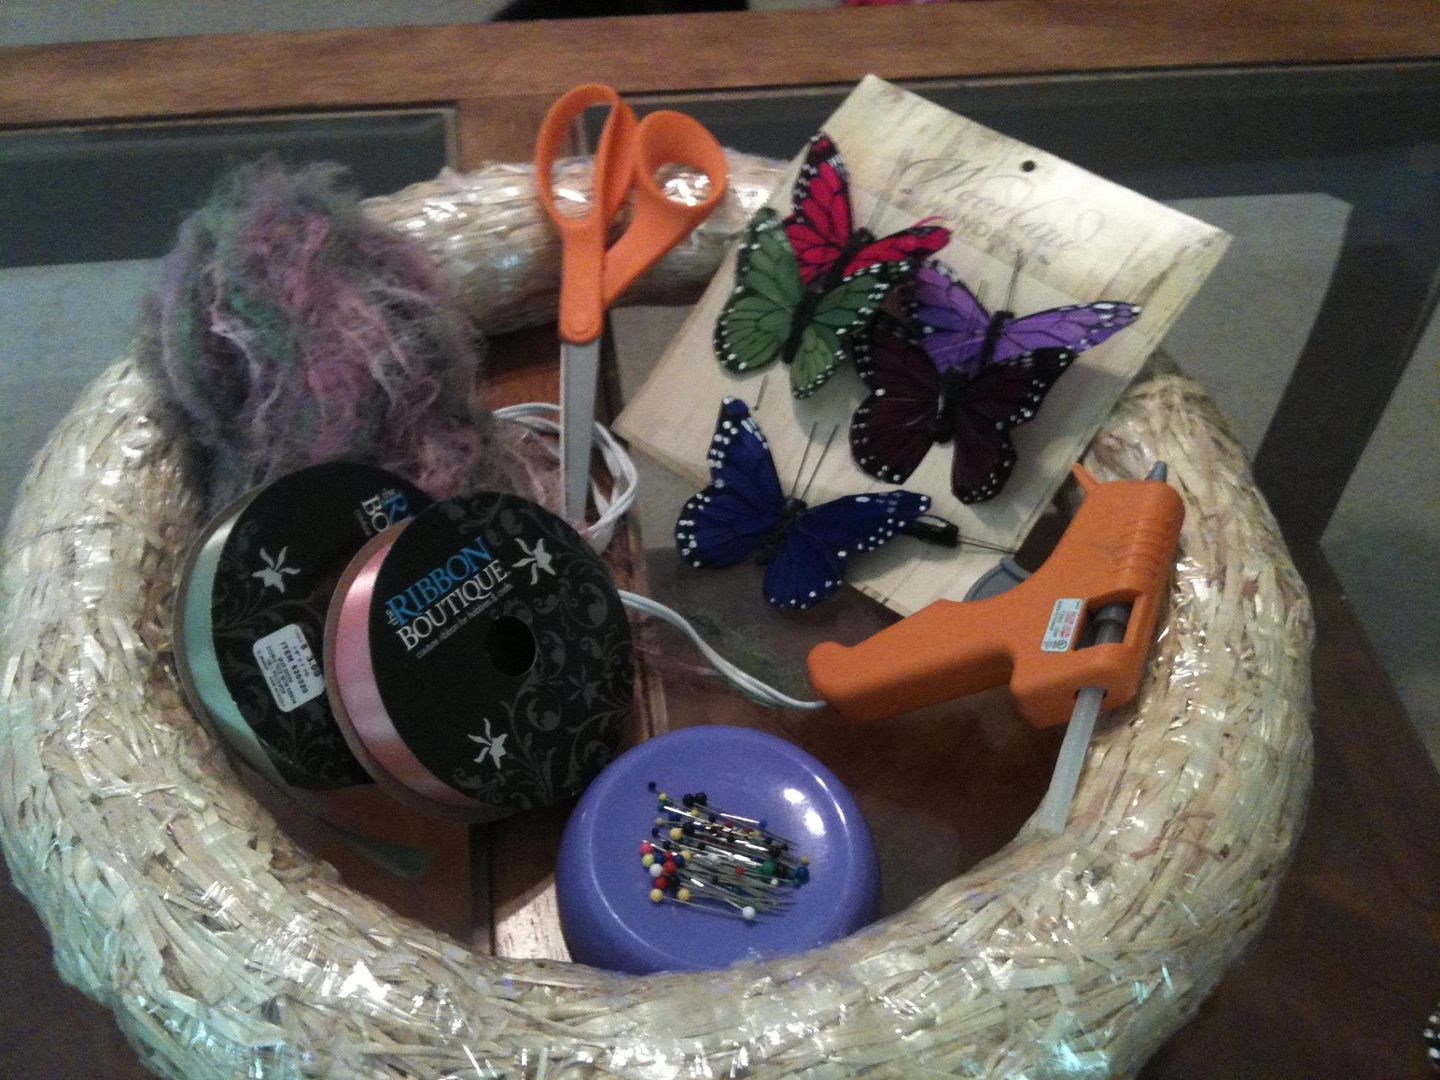
- Wreath (I prefer the plastic wrapped cedar ones because the inside edges are round)
- Yarn (I used some skinny, fuzzy yarn from Hobby Lobby. I had to buy 2 skeins because it was so thin. If you use a thicker yarn, you might not need as much.)
- Hot glue gun
- Straight pins
- Two rolls of ribbon (Complementary colors to your yarn)
- Butterflies (Found in the floral section of Hobby Lobby)
- Floral wire (Not shown)
- Scissors
- Fray check (Not shown)
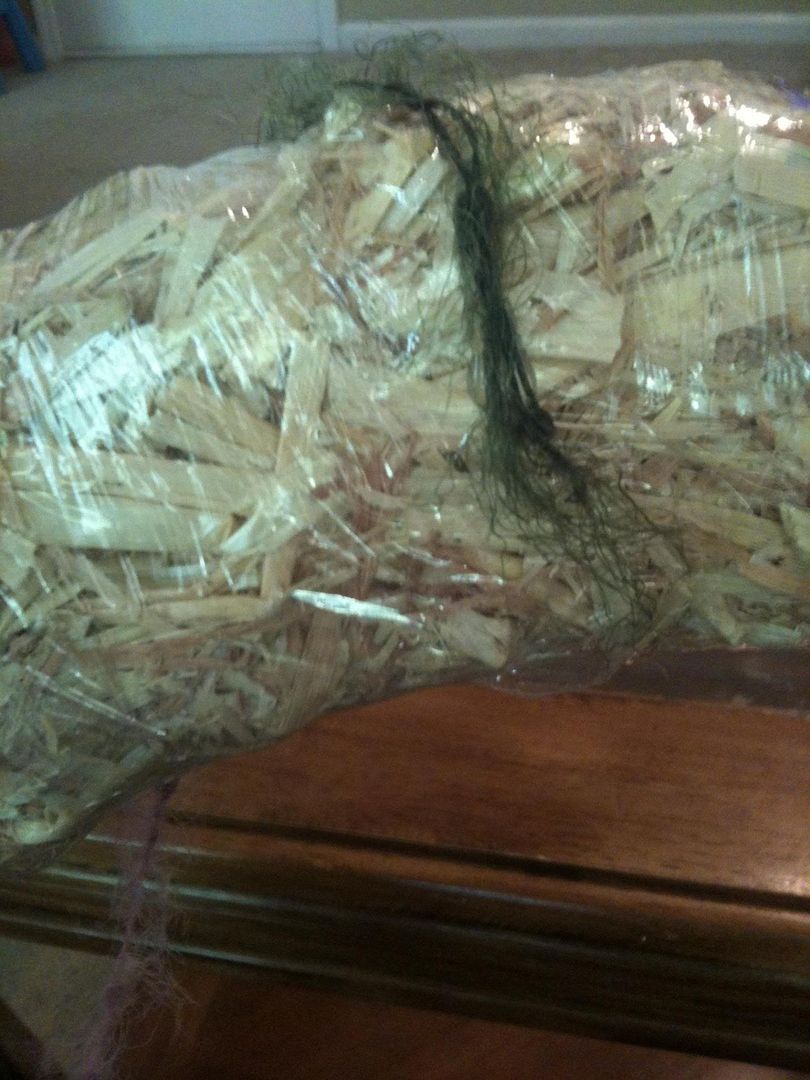
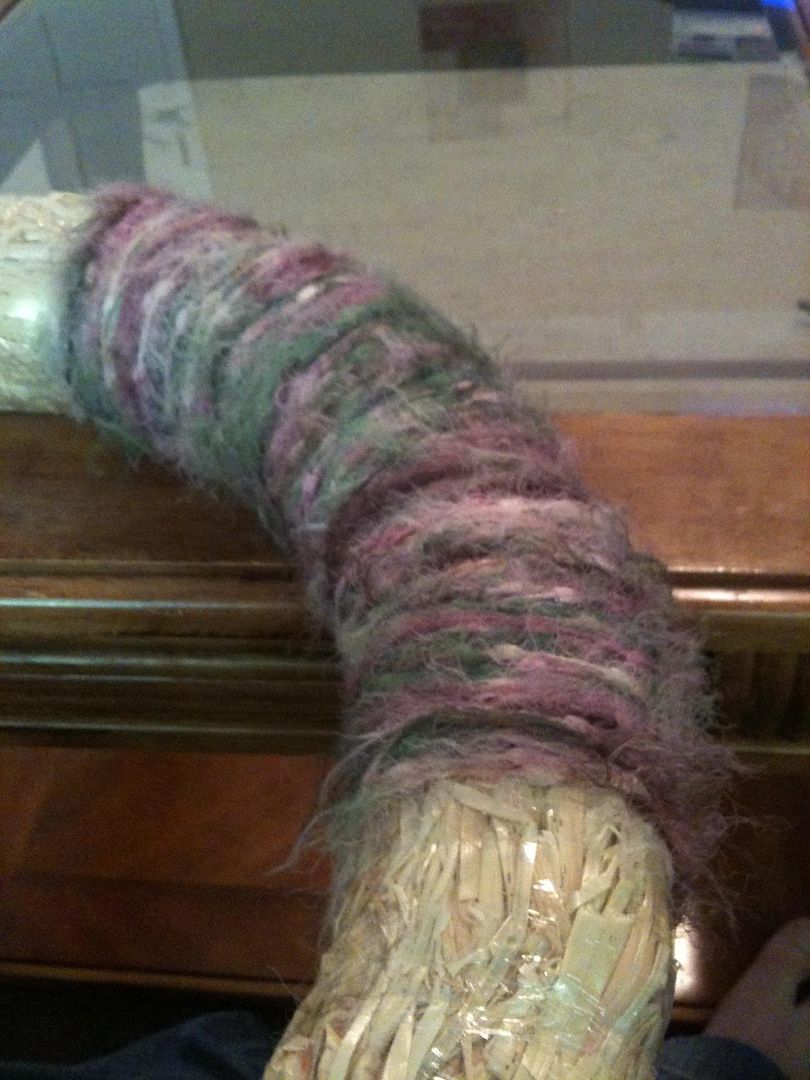
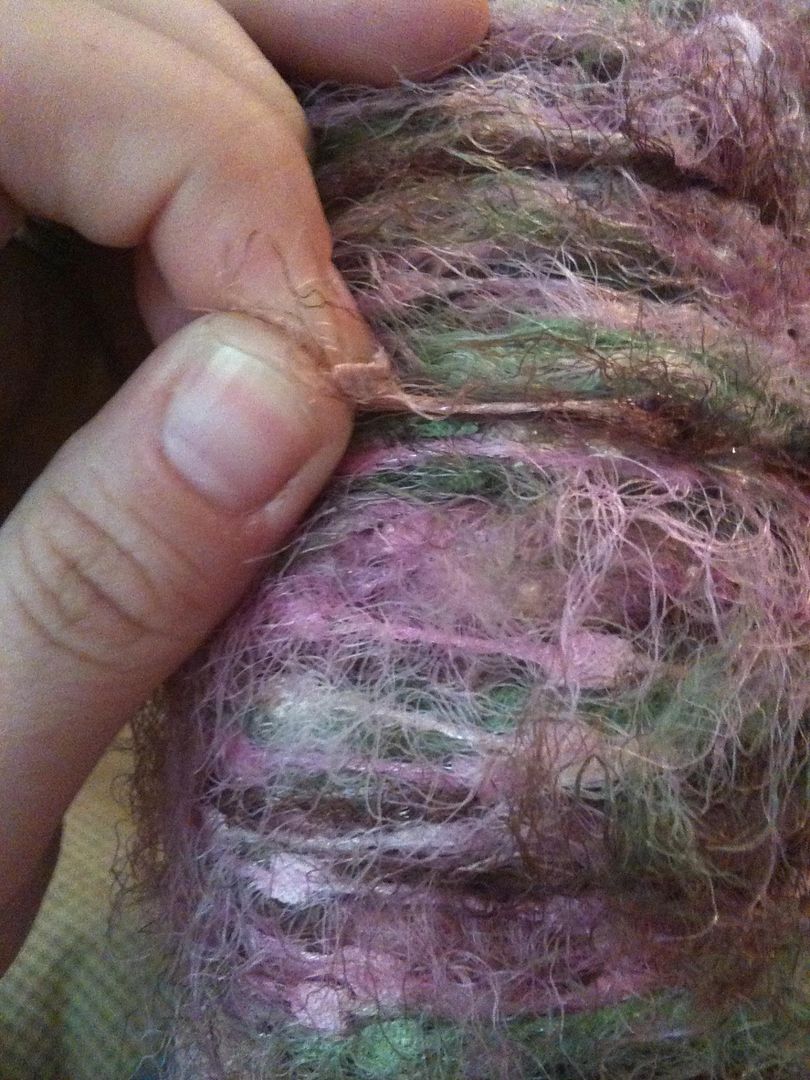
To start place a dab of glue anywhere on the wreath. Yep. Anywhere. Then start winding the yarn around the wreath.
Keep winding...
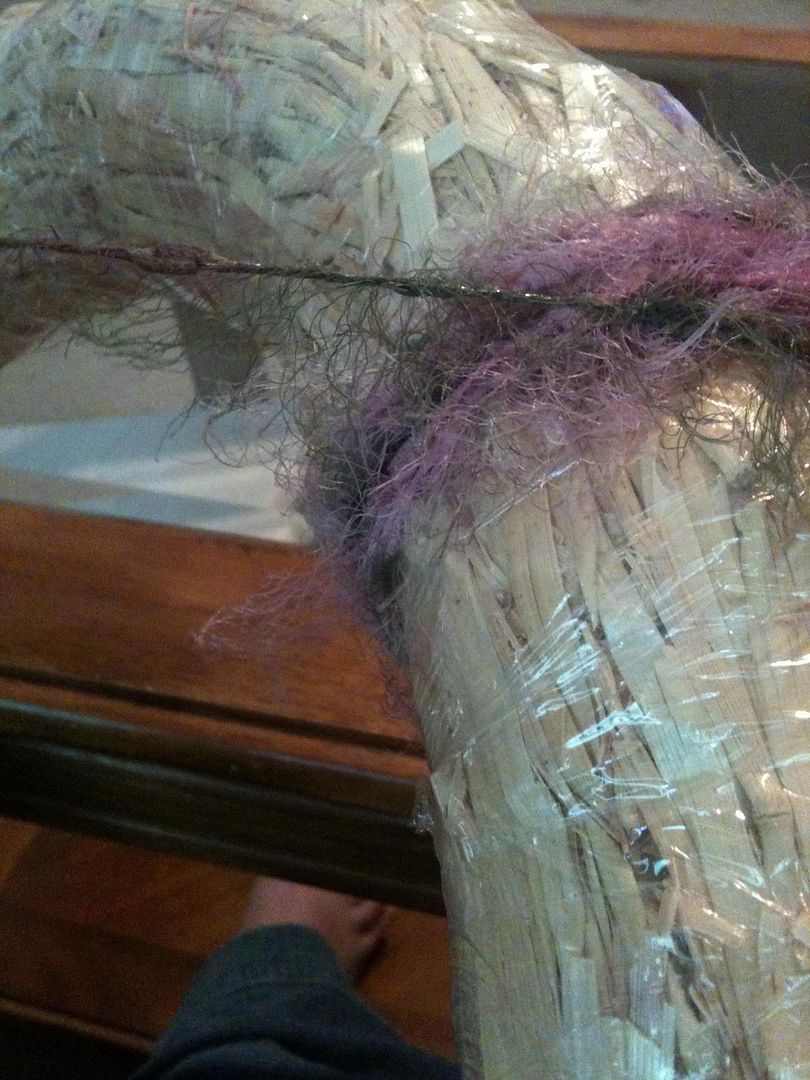
Wind some more...
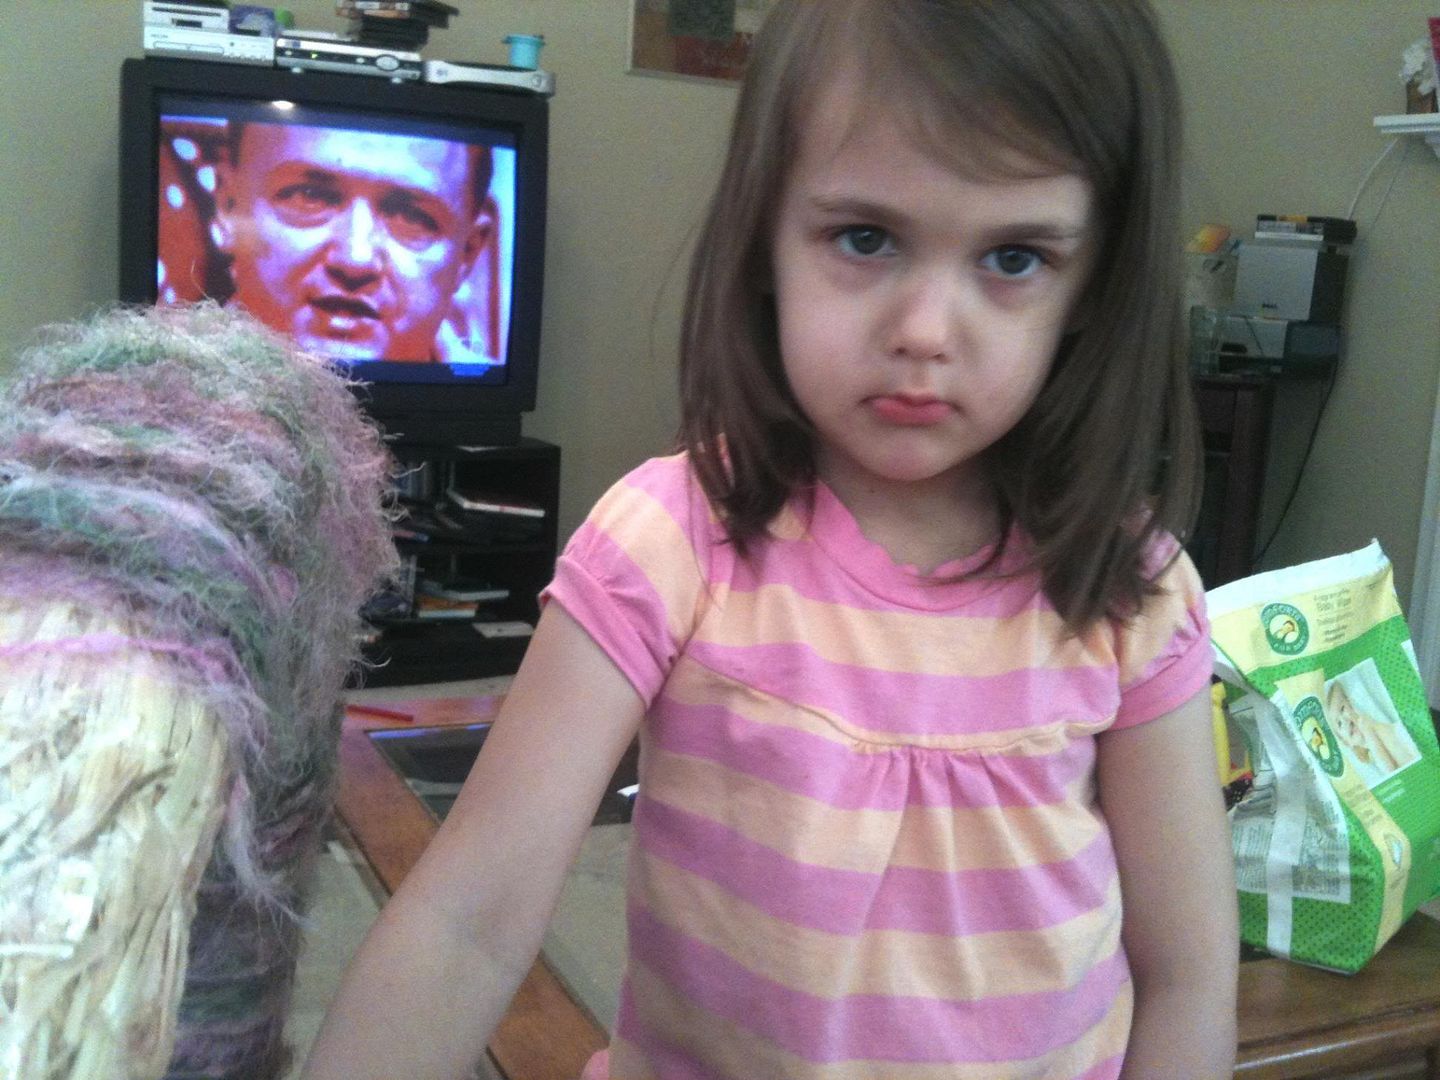
Catch up on a couple of shows from your DVR, take a picture of your adorable helper, even though she refuses to smile...
Winding...
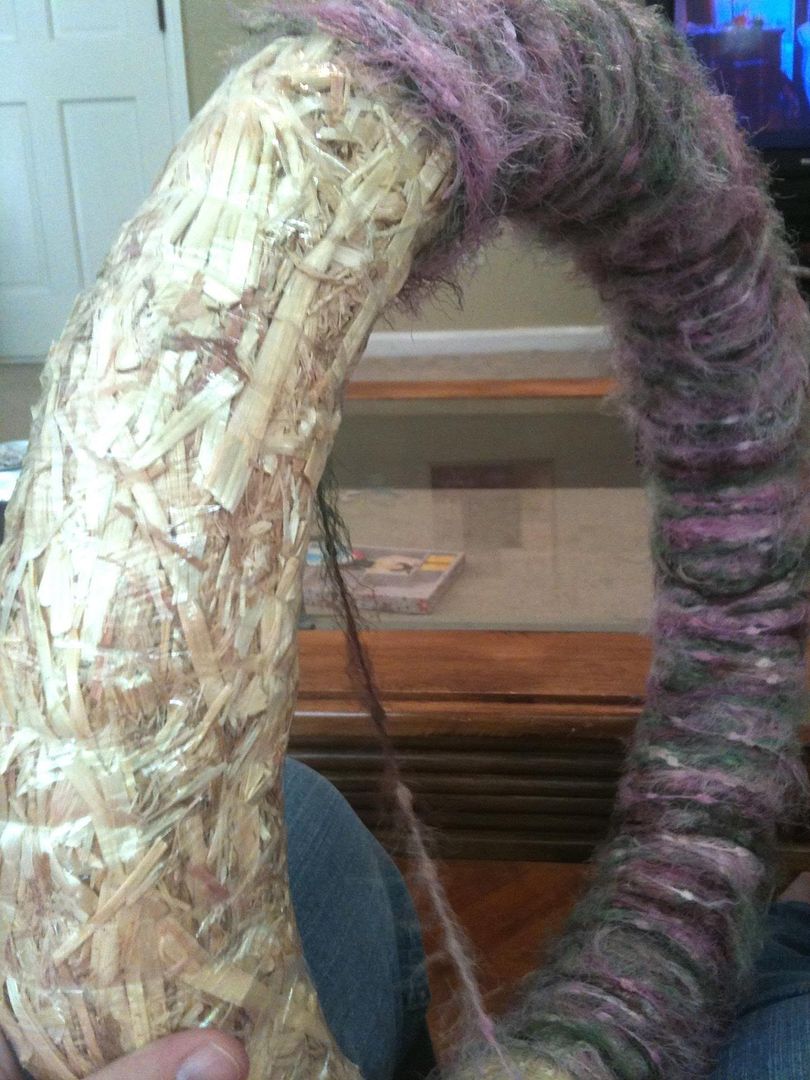
Once you've finally made it all the way around the wreath, just put another dab of glue on the wreath to secure the end of your yarn.
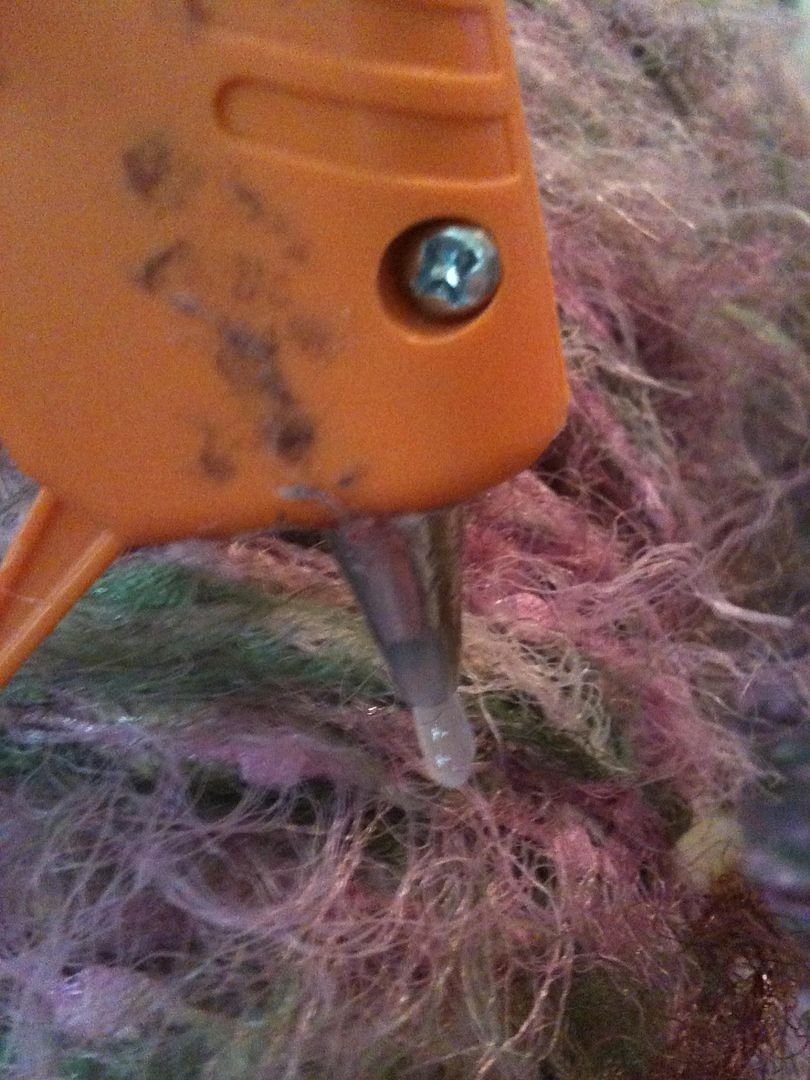
Pull tight and trim the end. (A happy dance would also be appropriate.)
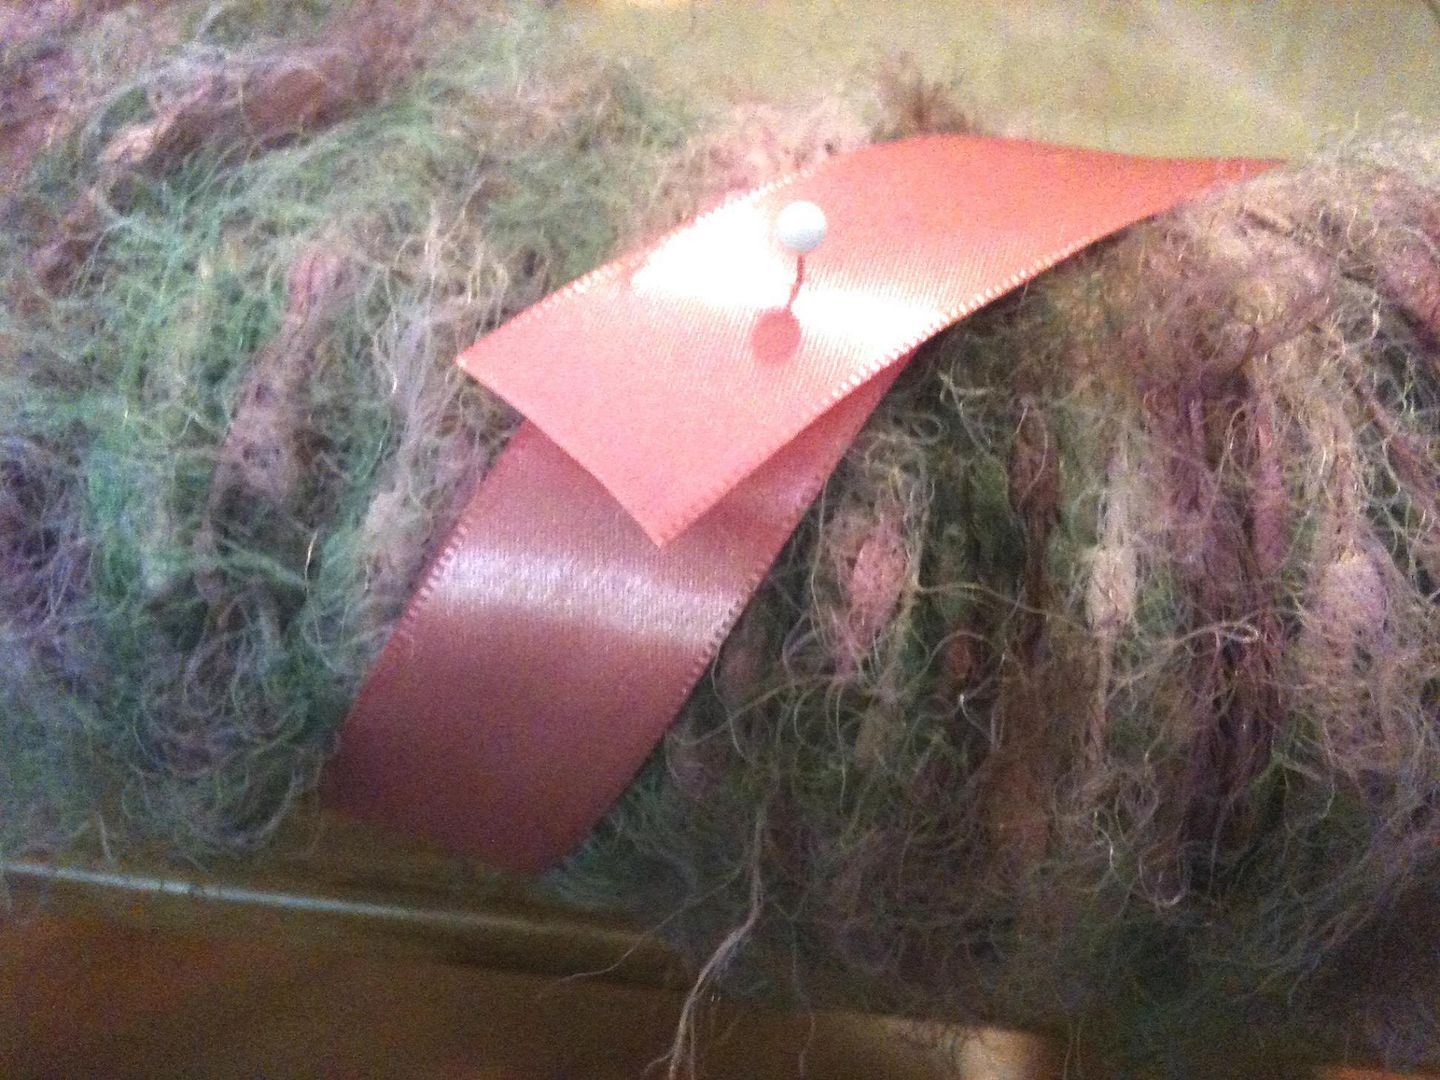
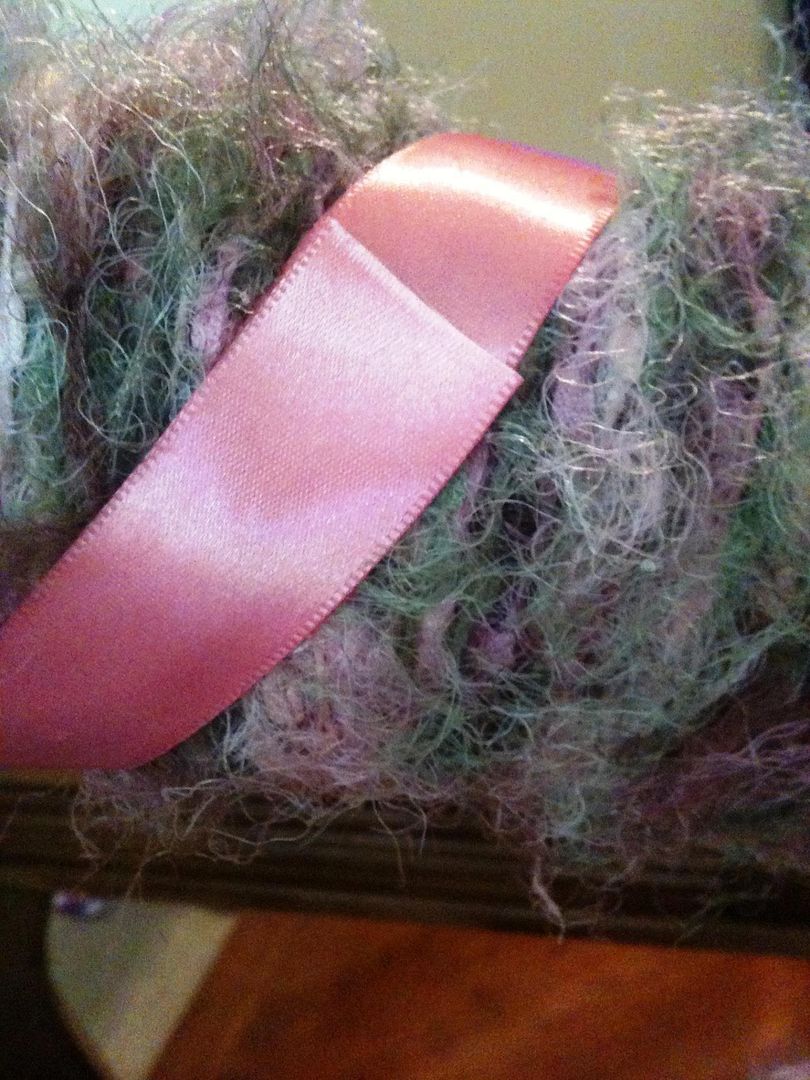
Next, take one of your spools of ribbon and pin the end on the back side of the wreath at an angle.
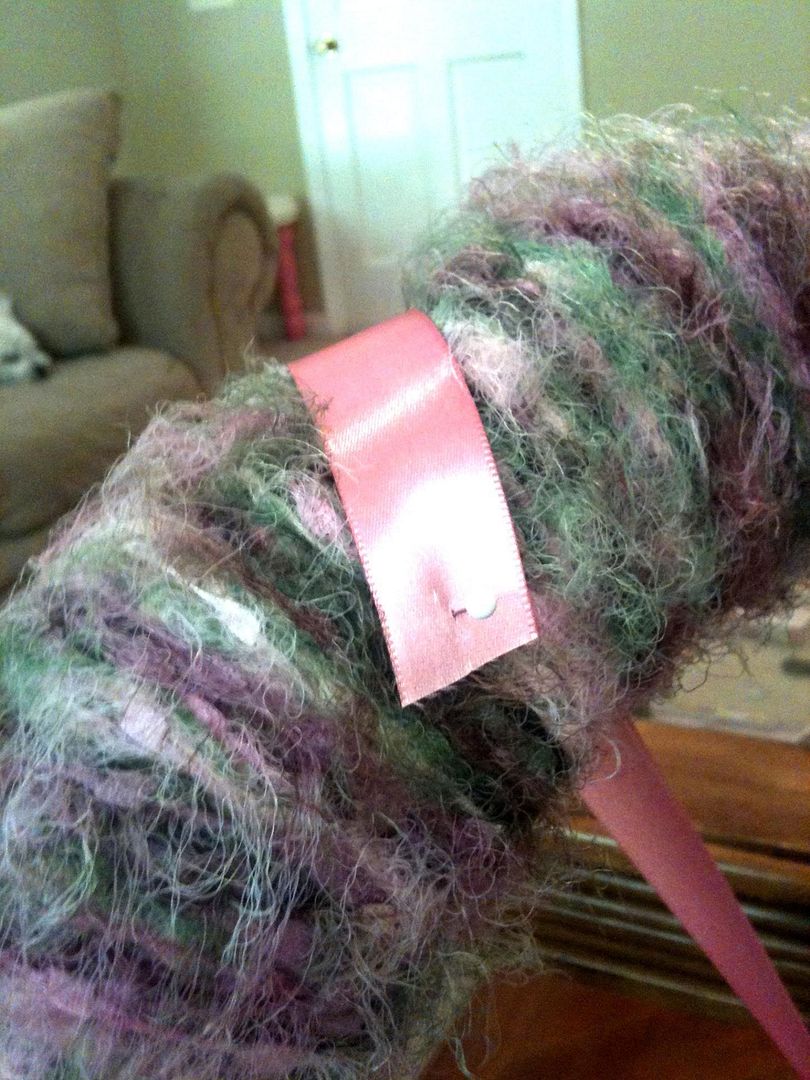
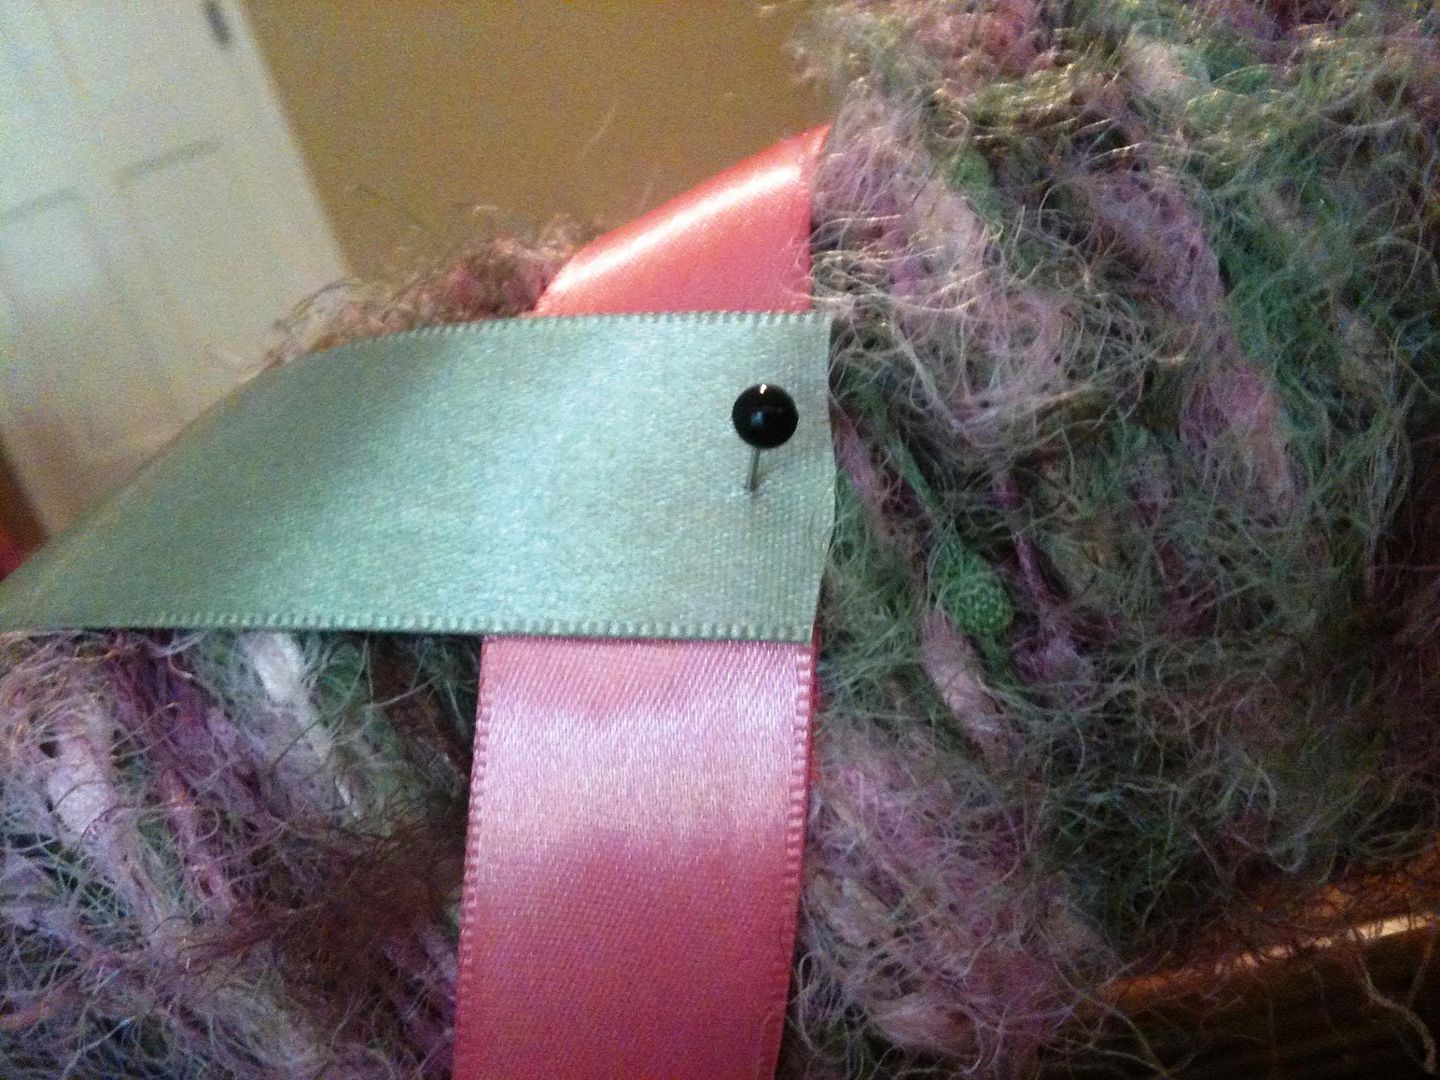
Wind that around the wreath a few times, ending at the straight pin.
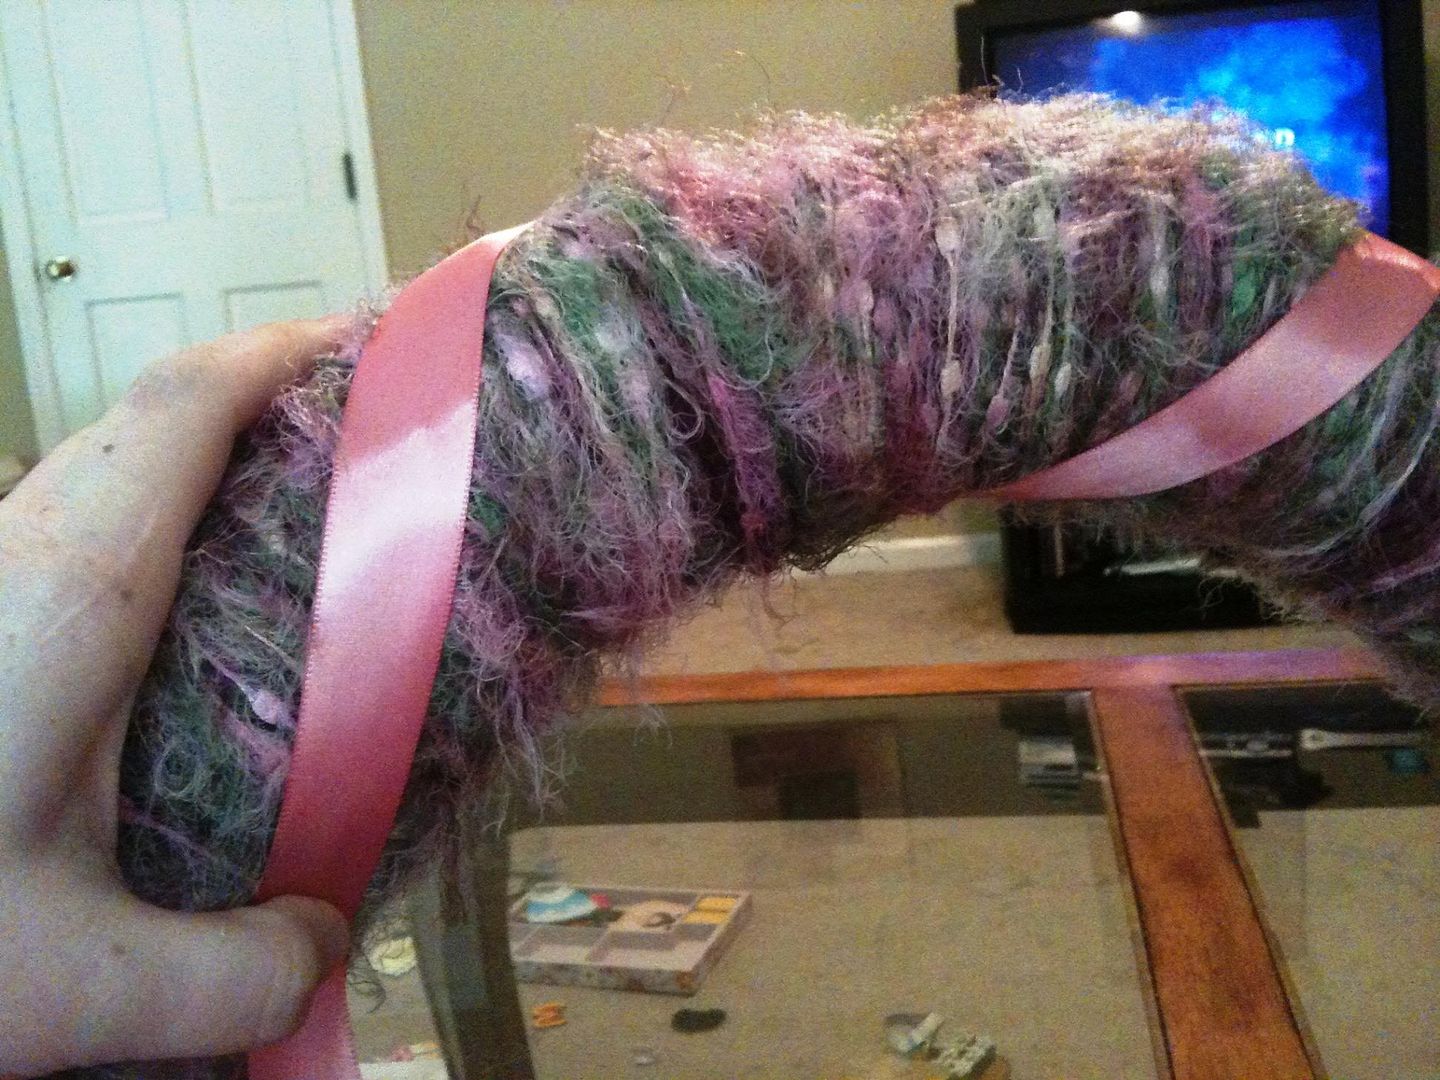
Pin this end of the ribbon, trim, then glue the ribbon to the wreath.
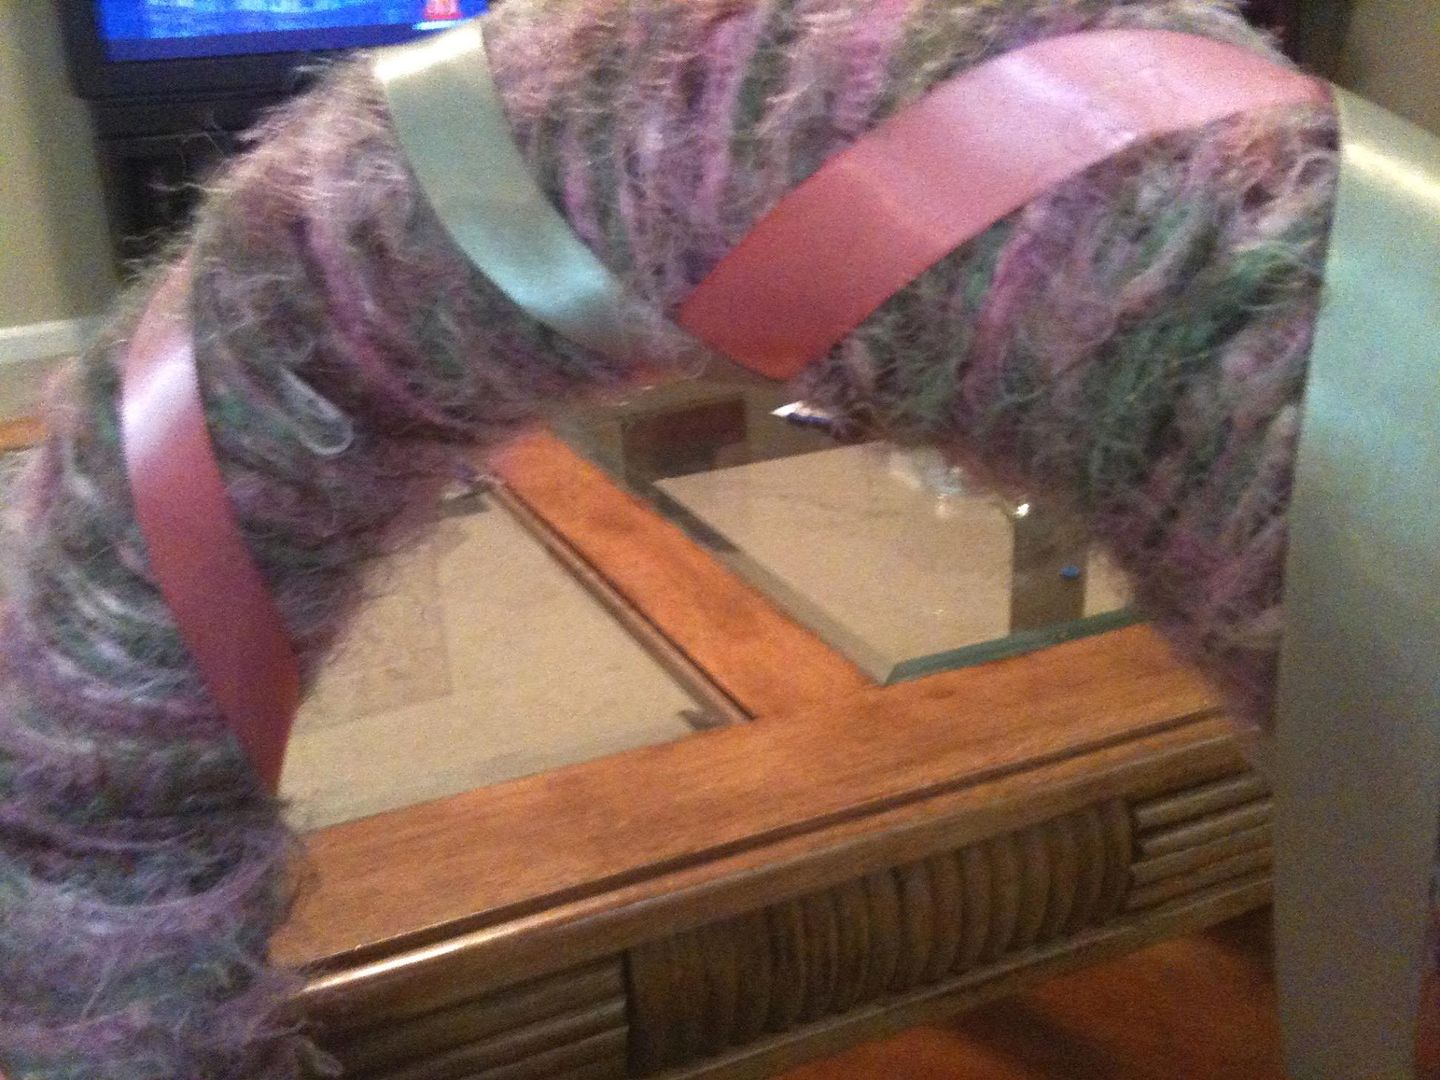
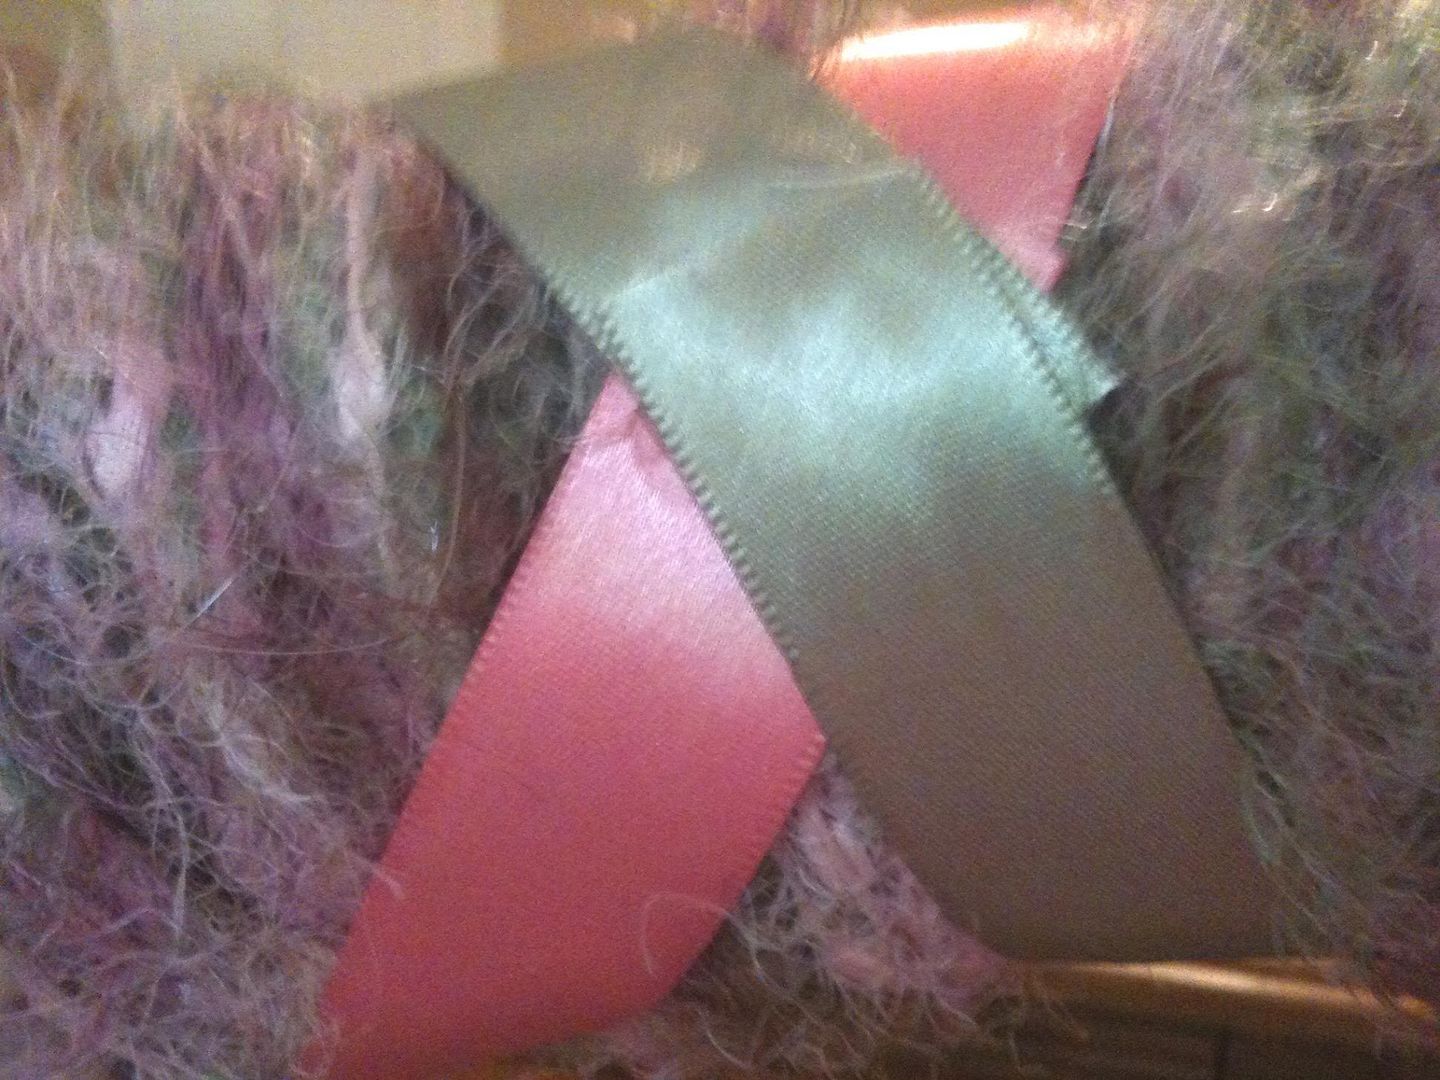
Pin, trim, and glue.
The next step is to make your bows for the bottom of the wreath. This is where I had to stop, so I don't have any pictures of this. It's super easy though. To make the bows, just form a couple of loops with your ribbon and hot glue the center, leaving tails as long as you want them. To cover the center and give it a more "finished" look, glue one end of the ribbon on the spool to the center of the back of the bow, bring it over the top and then back under the bottom. Pull it to adjust the "scrunchiness" (yes, that's a technical term), trim, Fray Check the edge, and glue. Repeat for other colored ribbon. Cut the ends at an angel or dove tail and Fray Check the ends.
Now you're ready to glue those puppies onto your wreath!
Next, and this is my four-year-old's favorite part, carefully poke the wires of your butterflies into the wreath at various locations. They're a little fragile, so be super careful. If one falls off it's wire, don't panic! You can either just glue it straight onto the wreath, or just put a dab of glue on the hole on the butterfly where it came off and stick the wire right back in. Allow to set.
To make wire hanger (Don't worry, this isn't Joan Crawford's house.):
Wrap the loose end of a spool of floral wire around the top of the wreath, right of center, leaving a tail. Wrap the tail around the wire several times. Loop spool under the top of the wreath, left of center, coming back up to wrap around itself on that side as well. Trim the end and...
Voila!!!

Happy Mother's Day!
Now, I'm off to cuddle with my pitiful Eva. Well, once she gets out of the bath, that is. Guess what two little girls got into Mommy's make-up today! Sigh...never a dull moment...

You have inspired me through the interwebs yet again. I will make some sort of wreath (maybe not as girly...) this weekend. It shall be my mother's day project. Along with the 500 other things in the queue.
ReplyDeleteI like that word. Queue.